








Low bridge ahead: verify RV height against the route before departure
Measure your RV's exact travel height, verify every questionable segment with the road owner, recheck construction restrictions, and decide where to stop or reroute before departure.

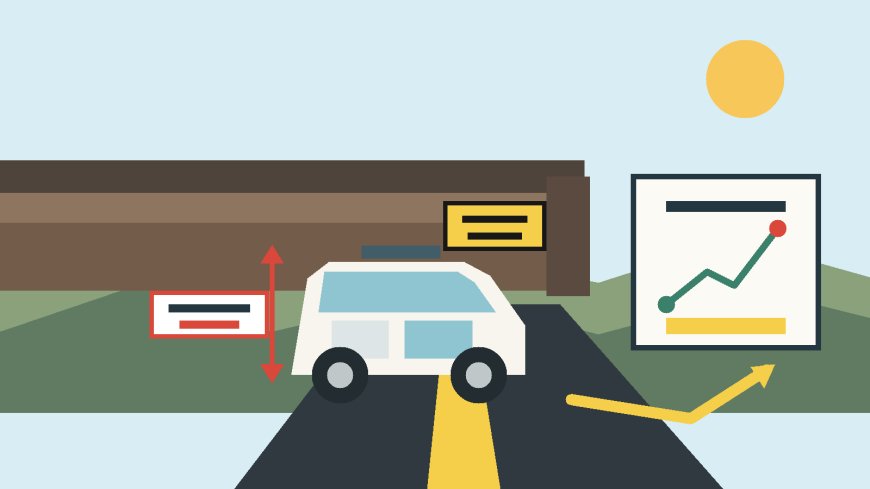
Low bridge ahead: verify RV height against the route before departure
Measure the RV in its travel configuration, check every questionable segment with the agency that owns the road, and choose your last safe turn before you leave.
A low bridge is a route-planning failure long before it becomes a roadside emergency. The useful time to discover one is at home, with the RV parked, the route open on a large screen, and enough daylight left to call the agency that owns the road.
The job has two parts: establish the RV's real travel height, then verify every questionable segment against current information from the road owner. A routing app can help organize the trip. It cannot make the go/no-go decision for you.
Measure the RV you will actually drive
Start with a number you have measured, not a brochure specification. Published height may describe a standard unit, while your RV may have a different air conditioner, vent cover, antenna, satellite dome, solar rack, cellular antenna, or suspension setup. Zion National Park tells drivers to measure before visiting and counts attachments such as air-conditioning units, bike racks, satellite dishes, mirrors, and tires when applying its vehicle limits.[6] That is a sensible definition of the travel envelope anywhere.
Load the RV as it will travel. Inflate the tires to the pressure specified for the load. Retract leveling jacks, awnings, antennas, and anything else that must be stowed. If an air suspension has a normal travel setting, put it there. Park on firm, level ground; a sloped driveway can corrupt the measurement.
Find the highest fixed point. Do not assume it is the front air conditioner. Sight across the roof from both sides and check added equipment. FHWA's height-measurement procedure for permitted loads begins by identifying the highest point on level ground, then placing a telescoping measuring pole at that point while a second person confirms the placement.[3] For an RV, a height pole is the cleanest method. A straight board held level across the highest point, with a plumb measurement to the pavement, can also work if it is done carefully and without climbing onto an unsafe roof.
Record the result in feet and inches and in total inches. Add a separate operating margin rather than quietly changing the measured number. For example, write “measured travel height: 12 ft 7 in; minimum planned clearance: 13 ft 1 in,” not simply “height: 13 ft 1 in.” The distinction matters when an agency gives an exact posted clearance or when equipment changes later.
There is no universal margin that makes every bridge safe. Pavement work, frost, snow or ice, tire and suspension movement, roadway crown, and a sagging or arched structure can all change the space available. Choose a conservative margin for the RV and conditions, but do not use a margin to justify squeezing under a sign that is too close. If the posted or confirmed clearance does not comfortably exceed the measured travel height, reroute.
Put the measured height on a card at the driver's seat. Add metric height if the trip crosses into Canada. Re-measure after installing roof equipment, changing tires or suspension, or buying a different tow vehicle or trailer.
Build the route from road-owner information
Trace the whole trip, including fuel stops, campground approaches, scenic roads, urban connectors, and the last few miles after leaving a highway. Those short local segments are often where a route changes from a divided highway to an older street under a rail line.
For each questionable road, identify who owns it. That may be a state DOT, county public works department, city transportation agency, toll authority, park, forest, or private campground. Then look for that owner's:
- bridge or vertical-clearance map or table;
- oversize/overheight route information;
- 511 traveler-information map and active restrictions;
- construction bulletins, closures, and detours;
- vehicle-size page for a park, tunnel, ferry, or toll facility; and
- phone number for traffic operations, permits, or the local road department.
Authority beats convenience. A crowdsourced pin or an RV-app warning is a lead to investigate. The road owner is the source to use for the decision, and a roadside regulatory or warning sign controls what you do when you arrive.
Read the road owner's notes, not only the number. North Dakota DOT's statewide bridge list says its clearance entries are not guaranteed to be completely accurate because construction and weather can affect bridge or road conditions.[5] That does not make the list useless. It means a static table should be checked against current restrictions and field signs.
The federal sign standard also explains why “my app did not show a low bridge” proves very little. The current MUTCD calls for a Low Clearance Advance sign for vertical clearance below 14 feet 6 inches, or below 12 inches over the jurisdiction's statutory maximum vehicle height.[1] A structure may be above the warning threshold yet still be uncomfortably close to a tall RV, and local rules differ. The absence of a low-clearance icon is not an all-clear.
Check the route twice
Do the first clearance review when choosing the route. Do the second shortly before departure, preferably the day before. On a multi-day trip, repeat the current-conditions check before each leg.
Construction is the reason for the second look. Caltrans requires its resident engineers to report work that reduces vertical clearance and specifically lists pavement overlays, overhead-sign installation, and falsework girder erection as examples.[4] Those are not theoretical database problems. Fresh pavement raises the road surface. Temporary beams or work platforms can lower the ceiling. A lane shift can move traffic toward the lower edge of an arch.
Use the official 511 map and project pages to look for work zones along the exact direction of travel. Search by route number, town, bridge name, and milepost. If a restriction notice is vague, call. Ask for the minimum available vertical clearance in your direction and lane, the dates and hours of the restriction, and the approved detour for a vehicle of your height. Record the agency, time, phone number, and answer in the trip notes.
Screenshots and downloaded notices are useful when cell coverage disappears, but date them. They are evidence of what you checked, not a guarantee that the road cannot change.
Treat GPS as a navigator, not a clearance authority
A vehicle-profile navigation unit is preferable to a generic car profile because it can use entered height, length, width, and weight to avoid known restrictions. Enter the measured height and verify the units. Check that the profile did not reset after an update. Keep maps current.
Even then, inspect the proposed route line by line. FMCSA warns commercial drivers that a typical consumer navigation system may not contain low-bridge, weight, or hazardous-material restrictions.[2] An RV is not automatically a commercial vehicle, but the data limitation still matters: a routing engine can only avoid restrictions that exist, are coded correctly, and are current in its map.
Compare the app's route with road-owner information. Pay close attention when it leaves a major highway, proposes a “faster” local shortcut, or recalculates after a missed turn. Never accept a detour merely because the screen drew a line through it. Stop somewhere legal, then vet the new road.
Curved tunnels need special care. The Blue Ridge Parkway publishes both maximum height near the center and minimum height near the edge for its tunnels. NPS tells drivers to use the clearance available while staying in their lane and to detour if that minimum is insufficient.[7] Crossing the centerline to borrow height is not a clearance strategy.
Decide before the point of no return
Mark every unresolved clearance and the last safe turnoff before it. The decision point may be an interchange several miles ahead, not the bridge itself. Save the alternate route and a safe place to stop on both approaches.
Use a simple rule:
- Go only when the measured travel height plus your chosen margin is below the current, lane-specific clearance confirmed by the road owner, and no sign or restriction says otherwise.
- Pause and verify when the source is old, the lane is unclear, construction is active, or two sources disagree. Pull completely off the travel lane in a legal location and call the road owner or law enforcement's non-emergency line.
- Reroute when clearance is insufficient, uncertain, or only possible by leaving the lane, using a shoulder, moving a barricade, or relying on another driver's guess.
If a low-clearance sign appears unexpectedly, slow smoothly, signal early, and take the signed truck or overheight detour if it is available. Do not stop under the structure. Do not edge forward for a visual test. Perspective from the driver's seat is poor, and contact can happen before the roofline looks close.
If there is no safe turn or pull-off, stop before committing to the restricted segment while keeping as far out of traffic as the location permits. Turn on hazard flashers and call 911 if the RV is creating an immediate traffic hazard; otherwise contact local law enforcement for traffic control and instructions. Backing an RV on a public road without traffic control can turn a route mistake into a crash.
A ten-minute phone call or a 30-mile detour is cheaper than a roof repair, bridge damage, road closure, or tow. Measure once, document the number, check the road owner, check construction again, and decide where you will turn around before the bridge is in the windshield.
Sources
What's Your Reaction?