










Before You Enter a Wooded Campsite: Walk the RV’s Overhead and Side Clearance
Reservation photos cannot prove today’s RV canopy clearance. Use this arrival walk-through to check the route, upper corners, sides and parked envelope.

Before You Enter a Wooded Campsite: Walk the RV’s Overhead and Side Clearance
By Romana | RV Camping | October 11, 2026

By Romana | RV Camping | October 11, 2026
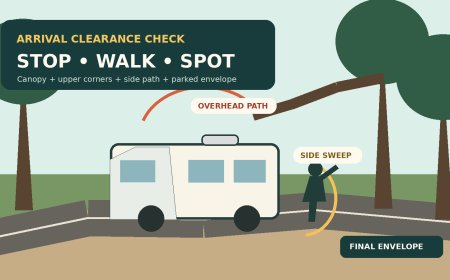
A reservation photo can help reject an obviously bad RV site. It cannot clear your rig for arrival. The safe decision happens at the campground, before the RV enters a wooded loop or commits to a back-in: stop where permitted, walk the route and site, look above roof level as well as beside the body, and leave if the path is not clearly usable.
This is not another pre-booking photo-reading guide. The booking screen is a first filter; this is a day-of-arrival go/no-go check for conditions a photograph and pad length cannot prove.
Source note: This original RVCamping.info field workflow draws on Jayco and Lippert RV setup guidance, National Park Service road and campground limits, and state-park examples of tree-related fit constraints. The stop points, two-pass walking pattern and clearance card are RVCamping.info planning tools.
First, know the height and width you are protecting
Write down the dimensions of the RV in travel mode before the trip. Use the exact coach or trailer, not a brochure photo or a generic model-family specification. The useful height is the actual loaded rig’s highest fixed point—including an air conditioner, vent cover, antenna in its required travel position, solar hardware or another installed accessory. Record body width and note anything that projects near the upper corners.
Confirm how your manufacturer wants those dimensions established. If you cannot measure safely and repeatably on level ground, ask a qualified RV dealer or service facility. Update the card after roof work, an accessory installation, tire or suspension changes, or a different hitch setup. A towable’s attitude can change when hitched and loaded.
Do not turn the recorded height into a promise that a branch only a fraction higher is safe. A road crown, dip, cross-slope, suspension movement or turn can lift one roof corner relative to the canopy. Flexible vegetation can also hide a rigid limb behind leaves. There is no responsible universal “add X inches” rule for every RV and wooded site.
Jayco’s towable manual tells owners to position the RV where it has slide-out clearance and safe space around the exterior. It separately warns that an emergency-exit window must not be blocked by trees or other obstacles.[1] Those are different boundaries: travel clearance gets the RV into place, deployed clearance lets the equipment operate, and emergency clearance preserves a way out.
What reservation photos cannot prove
Even a recent, site-specific photo is a frozen view. It cannot establish all of the following on arrival day:
- The current canopy. Leaves, new growth, storm damage, a hanging limb or a branch bowed by rain may change the opening.
- The entire travel envelope. A straight-on image does not show what the roof’s outside corner does through a turn.
- Clearance at every height. A trunk may miss the bumper while a branch reaches into the air-conditioner or upper sidewall path.
- The effect of slope. A side-to-side tilt changes which roof edge is highest; a dip can change front-cap or rear-corner clearance.
- The final parking position. Reaching hookups or keeping every tire on the pad may place the RV somewhere different from the vehicle shown in the image.
- The deployed footprint. Slides, awnings, steps, doors and an emergency window occupy space that the travel-mode body does not.
- The approach and escape route. The site may be long enough while its loop road, turn, turnaround or exit is not.
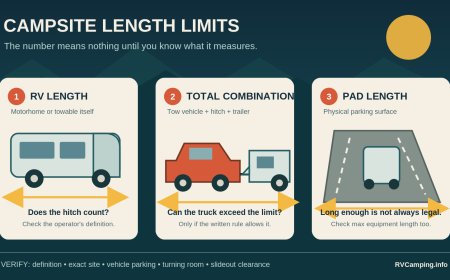
Official listings themselves show why one number cannot answer every fit question. At Mill Creek Campground in Redwood National and State Parks, NPS defines campsite parking-space dimensions as the area for vehicles, then imposes separate campground-road limits because of narrow lanes and tight curves.[3] Oregon State Parks says Wallowa Lake sites vary in length, may have trees near the parking pad, and require campers to read site alerts and keep all tires on the pad.[5]
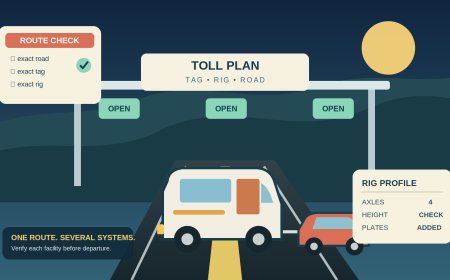
The road to the site can also carry a different limit than the site. NPS gives the Natchez Trace Parkway an RV height restriction, identifies a pull-off with an 11-foot-6-inch bridge clearance, flags places without a circular drive and notes that it does not list every low county-road underpass.[4] Posted and published limits are essential route evidence, but they do not certify an unposted tree canopy inside a campsite.
The arrival walk-through: two passes before the RV moves
Park only in a legal check-in, staging or other location designated by campground staff. Do not block the entrance, loop road, fire lane or another campsite. If there is no safe place to stop, contact the office or host and ask where to stage. Never stand in the roadway to inspect while traffic passes.
Lippert’s setup checklist tells campers to walk the site for low-hanging branches and other damaging objects, then verify room for slides and the awning.[2] Turn that advice into two deliberate passes.
Pass 1: walk the driven path
Start where the RV will leave the staging point and finish at its planned stopping point.
- Confirm the assigned route. Follow campground directions and one-way signs. Do not substitute a navigation-app shortcut.
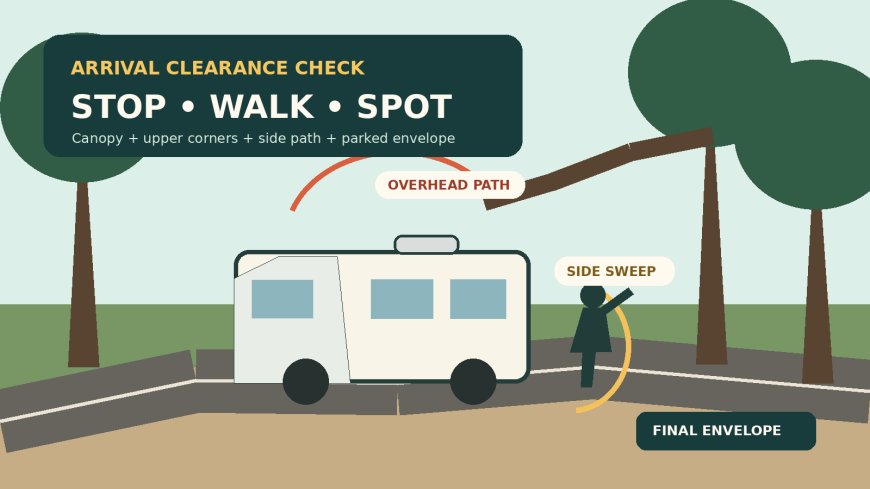
- Trace both roof corners. Look up at the centerline, then toward the left and right edges of the RV’s projected path. Recheck at turns, where the front and rear corners sweep different arcs.
- Check side clearance at several heights. Note trunks, posts, boulders, sign faces, utility pedestals and branches that angle toward the lane.
- Read the ground with the canopy. Mark potholes, humps, drainage swales, soft shoulders and cross-slope. Ground shape can move the roof toward an object that appears safely to one side.
- Find the abort point. Decide where the driver can stop before the last safe turnaround or backing option disappears. A questionable limb beyond that point is a no-go, not an invitation to creep closer.
- Walk the exit too. A safe entry is incomplete if departure would require scraping a different branch or backing through an unverified route.
California State Parks offers a concrete warning from Mount Diablo: RVs and trailers over 28 feet are not allowed because of narrow mountain roads and overhanging branches.[6] Length, road geometry and canopy can combine into one operating limit.
Pass 2: inspect the parked and deployed envelope
Stand where the RV’s tires are expected to finish. Check the full box the rig will occupy—not just the ground rectangle.
- Look along both upper sidewalls and across the roofline.
- Locate the air conditioner, vent covers, antenna and other rooftop equipment relative to branches.
- Mark the path of every slide from closed to fully extended.
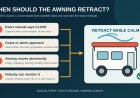
- Check the awning’s fabric, roller and arm path; keeping it closed is a valid answer when clearance is uncertain.
- Open neither slides nor awning until the RV is parked, secured and their paths are visibly clear.
- Preserve space for the main door, steps and exterior compartments.
- Keep the emergency-exit window and the ground below it free of trees, posts and stored gear, consistent with the RV manual.[1]
- Verify jack and stabilizer locations on firm, permitted ground.
- Check that the planned position still leaves legal tire placement and usable utility reach.
If moving the RV to clear one branch pushes a slide toward another tree, puts tires off the pad, blocks the exit window or makes departure impossible, the site does not work in that configuration.
Use one spotter and one stop signal
Agree on signals before the driver moves. The spotter should stay visible in a mirror or camera, remain out of the vehicle’s path and pinch zones, and watch the upper corners, not only the bumper. If the driver loses sight of the spotter, the driver stops. If anyone is unsure, the signal is stop.
A backup camera cannot show every branch beside or above a long RV. Phones may help when permitted, but they are not a reason for the spotter to stand behind the rig or stare at a screen while walking. Children and pets belong with another adult, away from the maneuver.
Move at walking speed only after the route passes inspection. Stop and get out whenever perspective changes or a branch becomes hard to judge. Do not ask a spotter to hold vegetation away from a moving RV.
Do not trim, push or “test” a branch
Do not cut, break, tie back or move campground vegetation unless the land manager expressly authorizes staff to do it. Do not climb the RV, stand on the roof, lift a conductive pole near utilities, or probe a suspect limb while the driver inches forward. A wet or damaged branch can move unpredictably, and contact that seems light can harm a roof membrane, sealant, awning, vent or solar wiring.
Instead, stop short and call the campground. Give the site number, branch location, your measured travel height and which roof corner is affected. Ask staff to inspect, assign another site or direct an approved route. On National Forest System land, federal regulation prohibits cutting or otherwise damaging a tree unless authorized; a tight site is not permission to alter it.[7]
The no-go conditions
Do not enter or continue when:
- the actual rig height or width is unknown;
- a branch, limb, cable or sign cannot be clearly identified and cleared;
- safe passage depends on vegetation bending out of the way;
- the route requires tires onto an unapproved shoulder or protected ground;
- the only turnaround or exit has not been checked;
- the spotter cannot remain visible and safely outside the travel path;
- staff instructions or a posted limit exclude the rig;
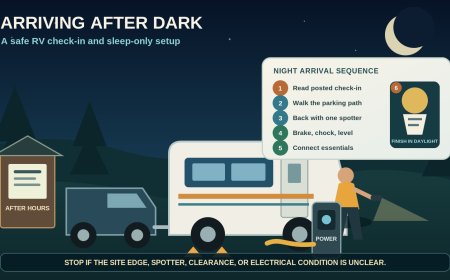
- current wind, darkness or precipitation makes the canopy hard to assess; or
- the parked position would block a slide, door, step or emergency exit.
Reservation photos still matter. Use them to form questions and identify likely pinch points. But on arrival, trust the posted limits, campground staff, your rig’s current measurements and what a complete walk-through can actually verify. A reserved site is not a requirement to force the RV into it.
Sources
- Jayco, 2024 Towable Owner’s Manual (manufacturer setup and emergency-exit clearance guidance).
- Lippert, RV Setup & Tear Down Checklist (manufacturer arrival walk-around, branch, slide and awning checks).
- National Park Service, Mill Creek Campground (vehicle-space dimensions and separate narrow-road/turn limits).
- National Park Service, Recreational Vehicles—Natchez Trace Parkway (route height, bridge, turnaround and incomplete underpass-list cautions).
- Oregon State Parks, Wallowa Lake State Park (trees near pads, site alerts and on-pad parking rule).
- California State Parks, Campground and Park Hosts—Mount Diablo (official length restriction tied to narrow roads and overhanging branches).
- Cornell Legal Information Institute, 36 CFR § 261.6—Timber and other forest products (current regulation text for the National Forest System prohibition on unauthorized cutting or tree damage).
What's Your Reaction?