









Map the Way Out: An RV Campground Evacuation-Route Plan
A campsite-to-public-road route audit for getting people and animals out without turning emergency preparation into another gear list.

Map the way out: an RV campground evacuation-route plan
By Romana | October 4, 2026 | RV Camping
An emergency kit can be complete while the exit plan is still blank. At a campground, the hard part may be getting a long vehicle from a back-in site through a one-lane loop, past a locked gate and onto the public road while other campers are leaving.
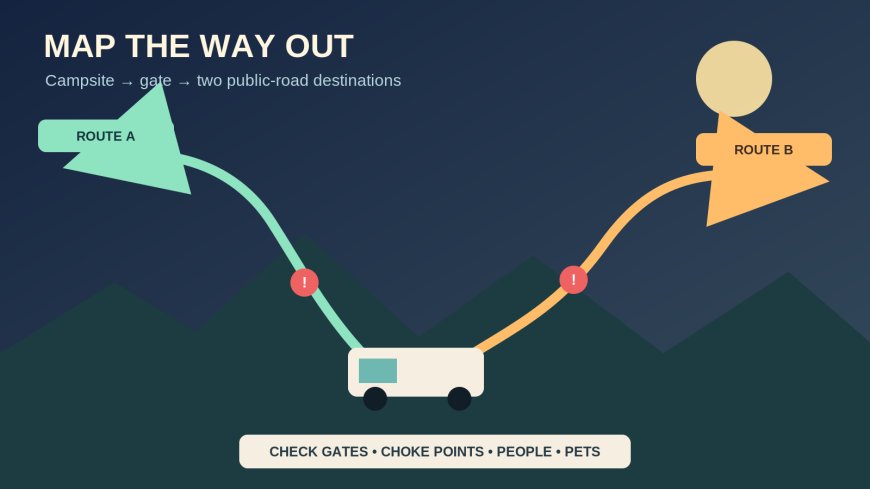
This is a route-planning guide, not another packing list and not an RV fire-window drill. It begins at the campsite parking position and ends at two destinations outside the campground. The goal is to learn the route while conditions are normal, decide what the RV can and cannot do under time pressure, and leave when officials direct rather than improvising in the traffic line.
Ask for the campground's plan, then verify your part
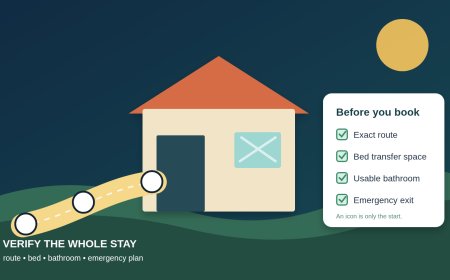
At check-in, ask which hazards can require evacuation, how staff notify guests, where official instructions come from and which gate departing guests should use. Ask whether any apparent second gate is locked, one-way, staff-only, too narrow for an RV or reserved for incoming responders.
Ready.gov advises people to learn local evacuation and shelter plans, identify destinations in different directions, know alternate routes and follow official routes instead of shortcuts.[1] A campground map adds the property-level detail that broad public guidance cannot provide.
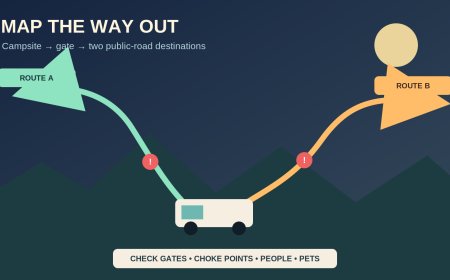
Mark three layers:
- the path from the exact campsite to a campground exit;
- the approved public route from that exit toward safety; and
- a second destination in another direction, reached by an official route if authorities keep it open.
Two arrows on a campground loop do not necessarily create two evacuations. Both may converge at one bridge, tunnel, canyon mouth or low crossing. Trace each route until it reaches a genuinely different public-road branch.
Walk the route before setting up camp
Before chairs, grills and bicycles spread into the site, walk or slowly drive from the pad to the instructed exit. Look for a sharper picture than the campground brochure provides.
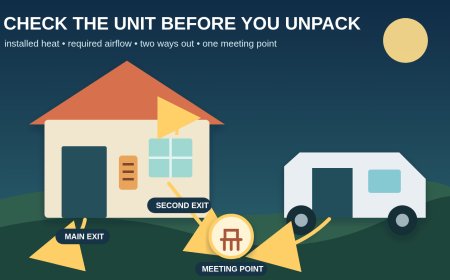
Note narrow turns, low branches, drainage dips, speed humps, parked-vehicle pinch points and places where opposing rigs cannot pass. Locate gate keypads, coded doors, cattle guards and one-way segments. Check whether the exit sign can be seen after dark and whether a seasonal barrier changes the route.
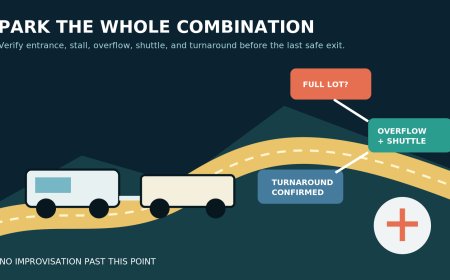
The full RV combination matters. A motorhome that can turn alone may not make the same corner with a car attached. A pickup may clear a tree while its trailer cuts inside toward the trunk. If a route requires backing, identify who can spot and where that person can stand out of traffic. Do not count on a stranger moving a vehicle during an evacuation.
Ready.gov's location-planning guidance says to learn the closest emergency exit and another way out if the first is blocked.[2] At a campground, the "another way" must be both authorized and usable by the travel setup. A footpath can be a valid life-safety option, but it is not an RV route.
Decide what leaves and what gets abandoned
Write two departure modes.
Normal early departure: There is enough time to retract equipment, disconnect utilities, attach a towed vehicle or trailer if needed, and leave in the RV using the checked route.
Immediate life-safety departure: People and animals leave in the fastest safe available vehicle or on the route officials direct. Outdoor equipment, hoses, leveling blocks and even the RV may stay behind. Nobody delays an ordered evacuation to protect replaceable property.
This distinction matters most for a fifth-wheel that is unhitched, a motorhome with a car positioned elsewhere, or a site where stabilizers and outdoor gear turn departure into a long sequence. Time the ordinary pack-up once in calm conditions. If it takes 25 minutes, do not write "five minutes" on the plan.
Choose an early trigger for travelers who need more boarding time, medical equipment setup or help with mobility. Local alert terminology varies, so learn the words used by the county or park rather than assuming "warning" and "order" mean the same thing everywhere.
Build a one-page exit card
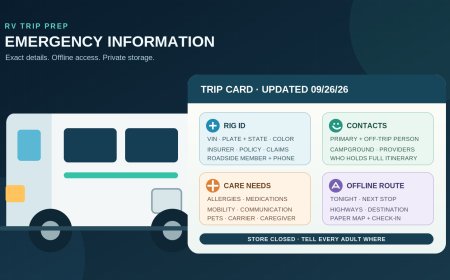
Keep the card near the driver's seat and save a copy offline on two phones. Include:
- campground name, street address, county and any evacuation-zone identifier;
- site number and RV license plate;
- normal gate, alternate authorized gate and gate instructions;
- Route A with the first public-road turn and destination;
- Route B with a different public-road branch and destination;
- rig limits that matter on those roads, including measured height and connected length;
- local emergency-management alert page, campground office number and park or sheriff information number;
- one out-of-area contact who will receive departure and arrival messages; and
- a count of people and animals assigned to each vehicle.
Do not turn the card into a mini emergency kit inventory. Its job is movement and accountability. Keep medication and essential gear where the assigned traveler can take them without crossing the campground.
Use more than one alert path
Ask the campground how a notice reaches a closed RV at night. Staff may use a siren, loudspeaker, text, phone call, vehicle horn or door-to-door sweep. Find out whether the method still works when cell service or power fails.
Also enroll in the official local alert system when visitors are eligible, keep Wireless Emergency Alerts enabled and monitor the official park, county or emergency-management channel. Ready.gov recommends signing up for local emergency-management and National Weather Service alerts.[1] The National Weather Service explains that WEA messages are sent through FEMA's alerting system to participating carriers for broadcast to compatible phones in the alert area.[3]
WEA is one layer, not a private campground alarm. A phone can be out of coverage, powered off or outside the targeted area. Two adults in separate vehicles should know where official updates come from.
Choose two meeting points that do not block the exit
The first meeting point should be outside the campground and away from its entrance queue, provided officials say that location is safe and reachable. Do not choose a gas station driveway beside the only exit or a turnout needed by fire apparatus.
The far point should be outside the hazard area, such as a named town, staffed shelter or lodging location. Pick a second destination in another direction because the first road may close. Ready.gov specifically recommends destinations in different directions and a household communication plan in case people become separated.[1]
Every departing vehicle sends the out-of-area contact a short message: vehicle, occupants, animals, route and destination. The contact keeps the count. Drivers do not stop on the shoulder to rebuild the group unless officials direct them there.
Plan around the choke points
Campground evacuation routes often share a few vulnerable places:
- one entrance road for both departing guests and incoming responders;
- a bridge, ford or low road that can flood;
- a steep or narrow grade that limits large combinations;
- a gate that needs power, a code or staff action;
- a dump station, office or overflow-parking area where a queue can form; or
- a loop where angled parked vehicles reduce turning room.
Mark each choke point and decide what evidence would make you leave earlier: a watch upgraded to a warning, a road closure beyond the campground, rising water near the low crossing, visible smoke, staff moving to an alert posture or an official evacuation notice. Follow local officials; personal trigger notes should prompt an earlier departure, not contradict a direction to shelter.
A real evacuation can make the expected road one-way. During Yosemite's 2022 Washburn Fire evacuation, the NPS included both the Wawona community and its campground in an immediate-departure order. Traffic could go north from Wawona, while the road to the south was closed.[4] That example shows why a saved tourist route cannot override incident traffic control.
Run a five-minute tabletop drill
Nobody needs to race a large RV around the campground. Sit at the site and talk through three cases:
- Route A is open, and there is time for a normal RV departure.
- The RV cannot be readied safely in time, so people leave by the assigned faster mode.
- One traveler is away from camp when the order arrives and proceeds directly to the far meeting point.
Each person states which vehicle they use, who helps children or a traveler with mobility needs, who takes each animal and where the keys are. Then the driver points to the first two turns from memory and checks them against the card.
Repeat the route check after moving sites, changing vehicles or hearing that a gate or road has closed. Revisit it when heavy rain, wildfire conditions or a coastal storm changes the hazard.
When the order arrives
Stop routine packing. Follow the instruction and the traffic direction given by staff or public officials. Ready.gov says to leave early enough to avoid severe weather, use recommended evacuation routes, avoid shortcuts that may be blocked and never drive into flooded areas.[1]
Account for the people and animals assigned to the vehicle. Take immediately reachable medicine, identification and communication gear, but do not search the campground for belongings. Send the departure message when safely stopped or have a passenger do it. Proceed to the directed destination even if it differs from the card.
The route card earns its place before the emergency. It reveals a locked gate, impossible turn or unrealistic hitching time while there is still room to ask questions or leave early. Once officials control the road, the plan becomes simpler: follow their direction, keep the exit clear and get people out.
Source note: Ready.gov, the National Weather Service and NPS support the public guidance and incident example. The site walk, exit card, two departure modes, choke-point audit and tabletop drill are original RVCamping.info planning tools. This article does not claim firsthand campground or evacuation experience.
Sources
- Evacuation | Ready.gov — Current federal guidance on destinations, alternate routes, alerts, communication and following official evacuation routes; updated March 20, 2026.
- Plan for Locations | Ready.gov — Federal guidance to learn the nearest exit and another way out at places you visit.
- Wireless Emergency Alerts: 360 characters | National Weather Service — Official description of WEA delivery through FEMA's Integrated Public Alert and Warning System.
- Washburn Fire Evacuation Order | Yosemite National Park — Official campground evacuation example with immediate departure and one-direction road control.
What's Your Reaction?