







RV trailer wheel bearings: the warning signs to check before you tow
Identify your trailer's axle and hub, follow the matching maintenance schedule, spot pre-trip wheel-end warning signs, and know when to stop for professional inspection.

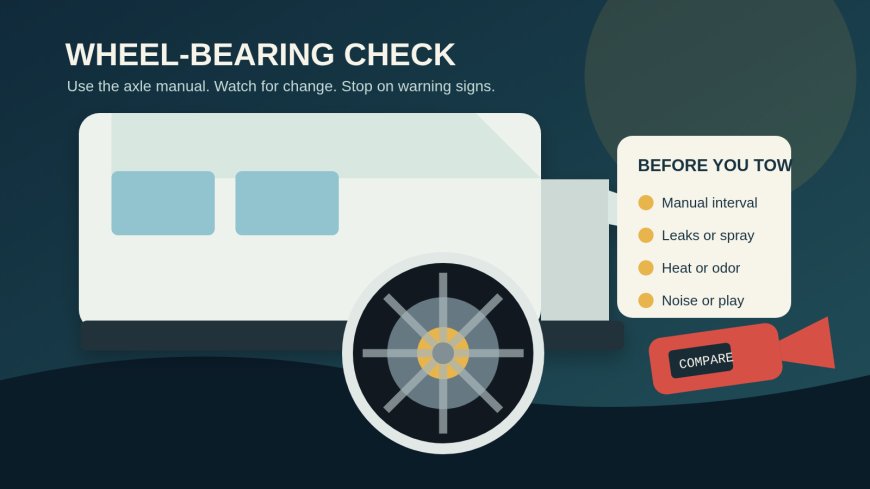
RV trailer wheel bearings: the warning signs to check before you tow
A wheel bearing problem can start quietly, then turn into a disabled trailer or a lost wheel end. The right response is not to adopt a mileage number from a forum and pump grease into every fitting you can find. Start by identifying the axle and hub system on the trailer, follow the matching manuals, and treat new heat, looseness, leakage or noise as a reason to stop and get the wheel end inspected.
This is a research-based owner checklist, not a bearing-service procedure. Hub removal, seal installation, bearing adjustment and brake work require correct lifting points, load-rated supports, clean tools and model-specific specifications. If you cannot positively identify the axle, hub and lubrication system, use a qualified trailer or axle service shop.
Why there is no universal repack interval
Two current manufacturer manuals make the problem with a single rule obvious. Dexter's light-duty manual calls for standard grease-packed bearings to be lubricated at the earlier of one year and 12,000 miles. The same manual says its factory-sealed Nev-R-Lube units need no added lubrication, but should be inspected at that same time-or-mileage threshold. Dexter also says the E-Z Lube fitting does not replace periodic bearing inspection.[1]
Lippert's September 2025 manual for its 2K-7K trailer axles puts physical bearing inspection and grease replacement at the earlier of one year and 36,000 miles. It also calls for an annual lubrication inspection and earlier attention when brake behavior is abnormal.[2]
Those are not competing universal answers. They apply to different products and instructions. Your working interval should come from the latest manual for the axle serial number and installed hub, plus the trailer manufacturer's schedule. Shorten that plan when the applicable manual requires it for severe use, water immersion, long storage, contamination or abnormal operation. Record the date, mileage, parts and lubricant used so the next decision is based on the trailer's real history.
Identify the hardware before scheduling service
Look for the axle identification label or tag without crawling under an unsupported trailer. Photograph the maker, serial number, capacity and any model or part number. Then collect:
- the trailer owner's manual and maintenance schedule;
- the axle maker's current manual for that serial number or product family;
- the hub type: conventional grease, grease-through spindle, oil bath or sealed cartridge;
- brake type and any service records, including the last seal and bearing work;
- open recalls for the trailer VIN and installed axle or wheel-end equipment.
Do not infer the hub type from a rubber plug alone. A previous owner may have replaced parts, and a trailer builder may have used more than one axle configuration during a model year. If the label is missing or the parts do not match the manual, send clear photos and the trailer VIN to the trailer or axle manufacturer, or ask a qualified shop to identify the assembly.
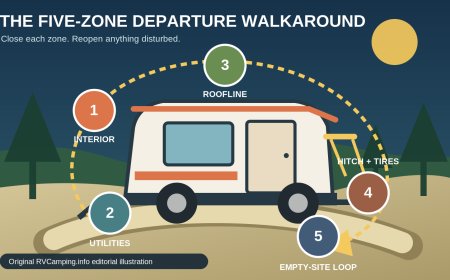
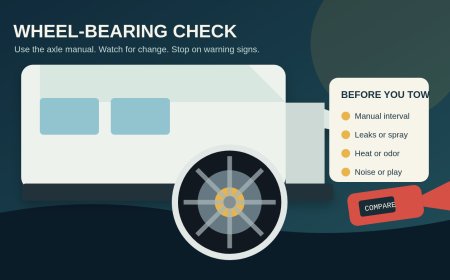
A five-minute pre-trip wheel-end check
Walk around the trailer before moving it. You are looking for change, not attempting a roadside teardown.
- Look at each hub and wheel. A missing or crooked cap, fresh grease on the wheel, an oil trail, wet grime around the inboard side, or residue on a brake backing plate deserves attention. Lippert warns that continued grease weeping is not normal and that excess grease can reach brake parts and reduce braking.[2]
- Scan the tires. New cupping, one-sided wear or a tire that sits at an odd angle can have several causes, including alignment, suspension, wheel or bearing issues. Do not diagnose the bearing from tread wear alone.
- Check for apparent looseness or damage. A wheel that visibly tilts, hardware that has moved, a damaged hub cap or metal debris near the cap is a no-tow finding until inspected. Slight designed end play can exist in some systems, so a hand wiggle is not a substitute for the manufacturer's measurement procedure.
- Listen during the first slow roll. Grinding, growling, scraping, rhythmic clicking or a new rumble that follows wheel speed needs investigation. Brake contact and tire damage can mimic bearing noise, which is another reason to have the whole wheel end checked.
- Confirm the maintenance and recall status. An on-time service entry does not close a safety recall, and a recall repair does not replace routine maintenance.
NHTSA records show why both recall checks and precise adjustment matter. A 2025 equipment recall involving 72 MORryde bearing assemblies for Grand Design Serenova travel trailers said an over-tight retaining nut could overheat the bearings and burn the grease; the filing listed no warning that would necessarily occur.[3] In a separate 2022 Airstream recall, a 42 mm cartridge-bearing washer could fracture, creating a risk that the wheel-end hub would detach.[4] These examples are not evidence that every warm hub or every cartridge bearing is defective. They show that maintenance history alone cannot rule out a product-specific defect.
Check for heat without inventing a magic temperature
After the first short leg and at fuel or rest stops, make a safe walk-around away from traffic. Do not put a bare hand on a hub, brake drum or rotor. They may be hot enough to burn. An infrared thermometer can help compare wheel ends if you use the same target area, distance and conditions each time, but a single reading is not a universal pass/fail test.
Compare hubs on the same trailer after the same stretch of road. A clear outlier, rapidly rising temperature, hot-brake odor, smoke or discoloration calls for a stop. Bearing trouble is only one possibility. A dragging brake, underinflated tire, road grade, sun exposure or measurement angle can change a reading. Let a qualified technician diagnose the cause rather than continuing because the number is below an internet threshold.
Stop towing for these warning signs
Do not continue to the campground when you find any of the following:
- smoke, a burning-grease odor or visible heat damage;
- a wheel or hub that is conspicuously hotter than its mates under comparable conditions;
- grinding, growling, rough rotation or a new wheel-speed noise;
- obvious wheel wobble, excessive movement or metal particles;
- active oil or grease leakage, especially near braking surfaces;
- a missing or damaged cap that may have allowed contamination;
- changed braking, pulling, surging or weak trailer brakes alongside hub leakage;
- a VIN or equipment recall that says to stop use or obtain an inspection before travel.
Park on firm, level ground as far from traffic as practical, keep people away from the roadside wheel, and call roadside assistance or a service facility. Do not crawl under the trailer or rely on a jack as support. Dexter and Lippert both direct users to support a raised trailer with properly rated stands at the frame and warn against using axle or suspension parts as lifting or support points.[1][2]
What to ask a professional to inspect
Give the technician the axle identification, manuals, maintenance log, trip observations and temperature comparisons. Ask for a wheel-end inspection that covers bearing condition and adjustment, mating races or cups, seals and lubricant, spindle and hub condition, brake contamination or drag, cap integrity and wheel/tire condition. The service order should name the parts and lubricant used and record any measured end play or adjustment against the applicable specification.
Grease fittings deserve special caution. Dexter instructs E-Z Lube users to rotate the hub and pump slowly with a manual grease gun, and warns that powered guns can force grease past a seal. It also states that convenient lubrication does not replace periodic inspection.[1] If you are unsure whether a seal has failed, the brakes may be contaminated, or different greases have been mixed, stop adding grease and arrange an inspection.
The useful rule is specific: identify the exact running gear, use its current instructions, and react to changes before departure. A clean pre-trip check and a documented professional inspection are worth more than an invented interval that happens to sound reassuring.
Sources
- Dexter Light Duty 600-8K Complete Service Manual — bearing systems, lubrication, inspection, E-Z Lube cautions and safe support procedures; accessed October 3, 2026.
- Lippert Trailer Axle (2K-7K) Owner's Manual — revision September 16, 2025; bearing intervals, leakage guidance and service-safety requirements; accessed October 3, 2026.
- NHTSA Part 573 Safety Recall Report 25E-011 — MORryde/Grand Design Serenova bearing-retainer recall; accessed October 3, 2026.
- NHTSA Recall Acknowledgment 22V-452 — Airstream cartridge-bearing washer and hub-separation recall; accessed October 3, 2026.
What's Your Reaction?