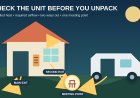






Before you unpack: check glamping heat, ventilation and both ways out
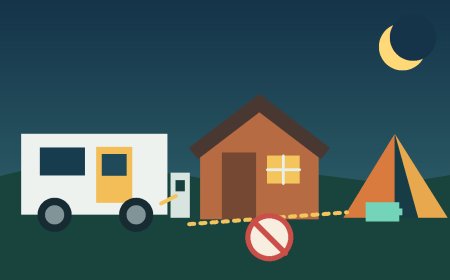
A booking-and-arrival check for cabin and tent-unit heat, required ventilation, usable exits and one rendezvous plan with the RV crew.

Before you unpack: check glamping heat, ventilation and both ways out
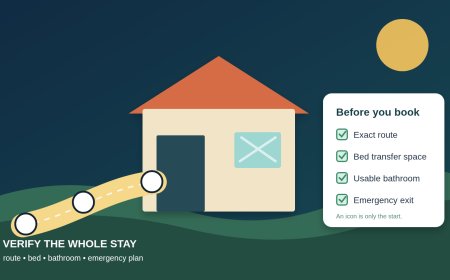
A listing that says "heated" leaves several important questions unanswered. It does not identify the heater, say whether it may run overnight, tell you which vents must stay open, or prove that everyone can operate a second exit. For a mixed RV-and-glamping group, get those answers for the exact cabin, yurt or furnished tent before the cancellation deadline, then compare the written answer with the unit before luggage blocks the floor.
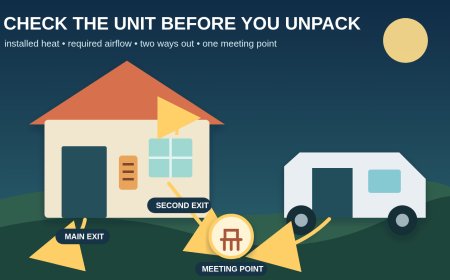
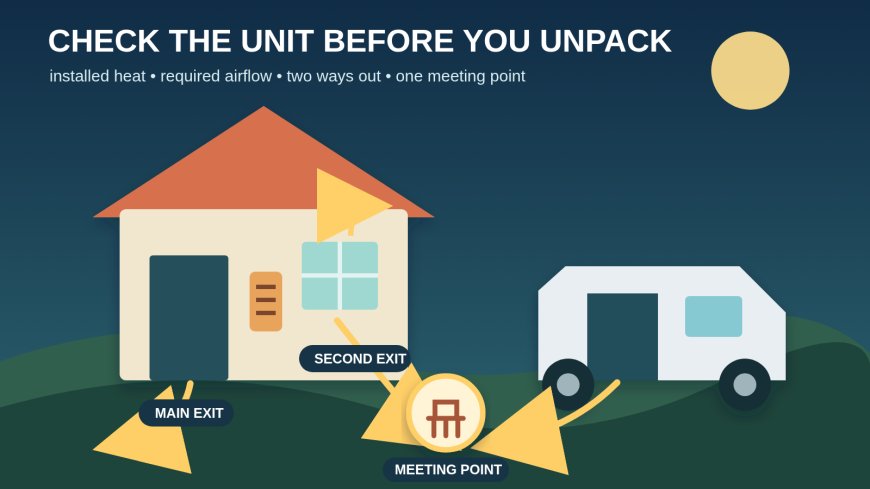
This check is about supplied equipment and the physical unit. It is not another guide to choosing portable heaters or building a cold-weather sleep system. The booking decision is narrower: identify what is installed, obtain the operator's rules, confirm required airflow, and make sure a guest can leave by either planned route. The RV household runs its own exit check, and both halves of the group agree on one outdoor meeting point.
The 10-minute version
- Before booking, ask for the exact unit number or type, heater fuel and model, operating instructions, allowed hours, ventilation requirements, alarm inventory, and a floor plan showing the normal door and alternate way out.
- Ask what "ventilation" means in that unit: which window, roof vent, wall opening or fixed gap must remain open, by how much, and whether rain covers, screens or winter panels change the rule.
- At arrival, compare the installed heater and posted instructions with the answer. Do not accept a substituted appliance as equivalent without checking it.
- With the heater off, test the normal door and alternate exit. Remove bags, chairs and bedding from both paths.
- Have the RV crew test its own door, hatch and emergency windows. Pick one outdoor meeting point away from both accommodations and account for every person and pet there.
At booking, turn "heat" into an equipment record
Ask the operator to answer for the reservable unit, not for the property in general. Record the heater's fuel, make, model and whether it is fixed or portable. Request the guest instructions or a photo of the posted operating panel. Confirm who lights, resets or refuels it; whether guests may change settings; whether it is approved for unattended or overnight operation; and who responds after hours if it fails or smells wrong.
Official park descriptions show why an amenity label is only a starting point. Oregon State Parks lists locking doors, electricity, heat and lights in rustic cabins and yurts, while also barring indoor cooking in those facilities.[3] Redwood National and State Parks says its basic cabins have electricity, heaters and lights, no kitchen or bathroom, and no smoking, cooking or open flames inside.[4] Neither general page identifies the heater model in the cabin you will receive. A guest still needs the unit-specific instructions and current condition.
Keep the operator's equipment record separate from guest gear. If the property has not expressly approved a device for that sleeping unit, do not add it to the plan. "There is an outlet" does not mean a guest heater is permitted, and a previous visitor's review is not an operating instruction.
Ventilation is a setting, not a guess
A request to "leave a window cracked" is incomplete. Ask staff to point to the exact opening, required position and reason. Is it combustion air for a fuel-burning appliance, a path for moisture, or both? Does a roof vent need to stay uncovered? May a fabric panel be zipped closed? What changes during wind or rain? Save the answer with the heater instructions.
The National Park Service advises that stationary space heaters be vented outdoors and their exhaust kept unobstructed. Its space-heater guidance also says portable heaters need room ventilation and that heaters should stay away from exits and paths of travel.[2] Those broad precautions do not supply the opening size for an unfamiliar cabin heater. Follow the exact heater label, posted unit instructions and operator rule. If they conflict or staff cannot identify the required setup, ask for another unit or do not use the heater.
Inspect airflow from both sides where guests are allowed to look. From inside, check that curtains, bedding and bags do not cover a grille, return-air opening or required window gap. From outside, look for snow, leaves, nests, fabric, a parked vehicle or stored gear at a heater intake or exhaust. Do not remove a cover, screen or appliance panel. Report an obstruction to staff.
Do not defeat the ventilation plan to make the unit warmer. Closing a required vent, stuffing a draft gap or draping a blanket over a louver changes the conditions under which the heater was meant to operate. It can also make an alternate window exit harder to reach.
Confirm alarms without pretending to inspect the system
Before payment, ask which smoke and carbon monoxide alarms are installed in the exact unit, where they are located, and how guests should report a missing, damaged, chirping or expired-looking device. Ask staff whether guests are expected to use a test button at check-in or whether only staff may test it. Never remove a battery, cover a detector or silence an alarm to continue the stay.
The U.S. Fire Administration's vacation-rental checklist places smoke-alarm coverage in bedrooms, near the distinct sleeping zones and at each story of a rental. It also calls for carbon monoxide alarms at every story.[1] A guest cannot verify hidden wiring or professional servicing. The arrival check is simpler: find the listed devices, look for obvious damage or a trouble signal, follow the posted test policy, and contact the operator before occupying the unit if something does not match.
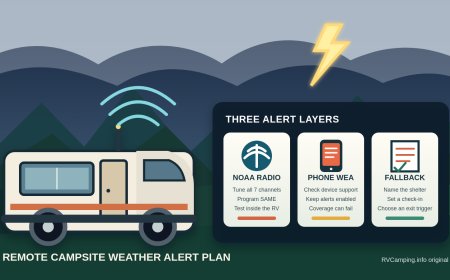
If an alarm sounds, leave. Do not spend the first minute deciding whether steam, a weak battery or the heater caused it. Account for the group outdoors, call emergency services or the property's stated emergency number as conditions require, and wait for authorized clearance before re-entry.
Make both ways out usable before bags come in
Ask for a floor plan or current photos that show the primary door and the alternate exit from the sleeping area. An alternate route might be another door or an operable window. Confirm how it opens, whether a screen or latch releases without a tool, how high the drop is outside, and what is below it. "There is a window" does not prove that the assigned guest can use it.
USFA advises vacation-rental guests to know two ways out of every room, make sure exterior doors and windows open, and select a safe outdoor rendezvous away from the building.[1] At arrival, an adult should operate each planned exit with the heater off and without climbing onto unstable furniture. Never use an emergency opening for play or force hardware. If an exit will not open as instructed, stop unpacking and call the operator.
Run the path from each bed, not just from the center of the room. A futon opened for sleeping, a rollaway, a dog crate or two suitcases can turn yesterday's clear route into tonight's obstacle course. Keep keys, shoes and a light where sleepers can reach them without crossing the heater's clearance zone. Guests who need assistance should decide in advance who will alert and accompany them; do not invent a carry plan during an alarm.
The RV needs its own exit check
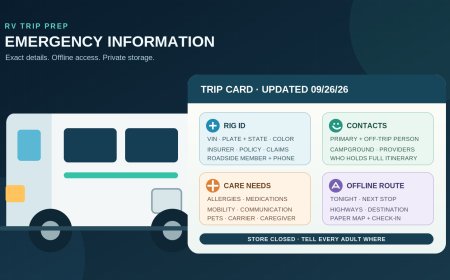
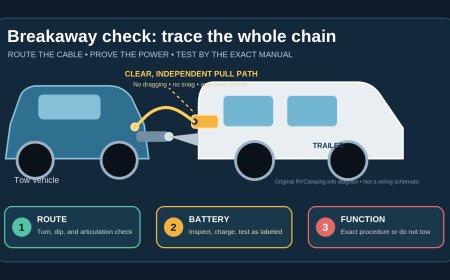
The cabin's exits do not cover the RV, and the RV door is not the glamping unit's backup. NPS RV fire-safety guidance calls for at least two escape routes, a practiced plan, and travelers who know how to release the main door, escape hatches and other emergency openings.[5] Before dark, the RV occupants should identify the primary door and the correct emergency opening from each sleeping position. Keep those openings accessible after beds and slides are set for the night.
Do not route the glamping evacuation past the RV's generator, engine exhaust, outdoor kitchen, awning hardware or tow vehicle. Likewise, do not park or stage chairs where they narrow the cabin's outdoor exit landing. The group plan should still work if either accommodation is the source of smoke.
Choose a rendezvous, then choose a backup
Pick a named physical point that everyone can find in darkness: for example, the campground map board across the loop, not "near the truck." It should be a safe distance from both sleeping units and away from responding vehicles, propane equipment, generator exhaust, trees or brush that might be involved in a fire. Ask the operator whether the property already designates an assembly area and use it when directed.
Choose a second point in case smoke, wildfire, flooding or emergency traffic blocks the first. Give every adult the campground address, unit and site numbers, after-hours contact and local emergency instructions. Decide who accounts for each child, adult and pet. Nobody goes back for a phone, keys or animal after reaching the meeting place; tell responders what is missing.
Send this before the cancellation deadline
We are booking glamping unit [number/type] and RV site [number] for [dates]. For that exact glamping unit, please identify the installed heater by fuel, make and model; send its guest instructions; state whether it may run overnight; and describe every required ventilation opening and setting. Which smoke and carbon monoxide alarms are installed, and what is the check-in test/reporting procedure?
Please mark the primary and alternate exit on a floor plan or current photos. How does the alternate exit open, what is the height/drop outside, and must any screen or panel be released? Is there a designated emergency assembly area for both the cabin/tent unit and RV loop? Please attach these answers to the reservation and tell us if equipment may be substituted before arrival.
Arrival walk-through: do it before unloading
- Match the unit number, heater fuel/model and posted instructions to the saved answer.
- Locate required vents, the exterior intake/exhaust where visible, and every smoke/CO alarm listed by the operator.
- Keep combustibles and walking routes outside all posted heater clearances.
- Operate the normal door and alternate exit according to instructions, then check the landing outside.
- Set beds to their nighttime positions and walk both exit paths again.
- Have the RV household open its planned exits and clear the outdoor route.
- Walk to the primary rendezvous and backup point. Share the address, unit/site numbers and after-hours contact.
If the heater, ventilation instructions, alarms or exit arrangement do not match, take photos from a safe position and contact the operator before occupancy. The useful decision is not whether the unit feels warm at check-in. It is whether the listed equipment can be used under its actual rules while both ways out remain ready.
Sources
- Hotel and Vacation Rental Fire Safety, U.S. Fire Administration, exit, alarm and outdoor meeting-place checklist (accessed September 26, 2026).
- Fire Prevention 52: No Time to Space Out, National Park Service, heater placement, ventilation and operating precautions (accessed September 26, 2026).
- Cabins and Yurts, Oregon State Parks, statewide rustic-unit amenities and indoor-use rules (accessed September 26, 2026).
- Cabins in the Campgrounds, Redwood National and State Parks, cabin equipment and no-flame/cooking rules (accessed September 26, 2026).
- Fire Prevention 52: RV Fire Safety 101, National Park Service, RV escape routes and emergency-opening checks (accessed September 26, 2026).
What's Your Reaction?