








Before the Trip: Inspect and Practice With Your RV Emergency Escape Window
A manual-first pre-trip inspection and practice plan for RV emergency escape windows, including screens, latches, outside hazards, children, guests and repair escalation.

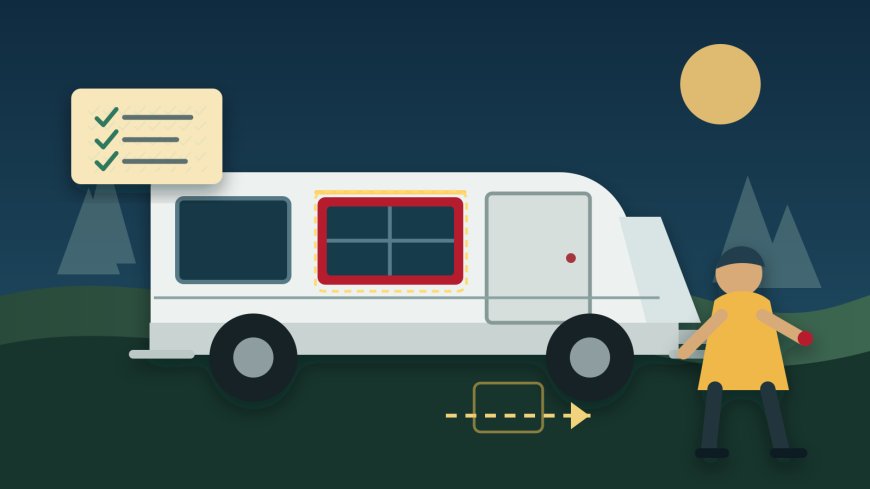
Before the trip: inspect and practice with your RV emergency escape window
By Romana | October 6, 2026 | Tips and Trends
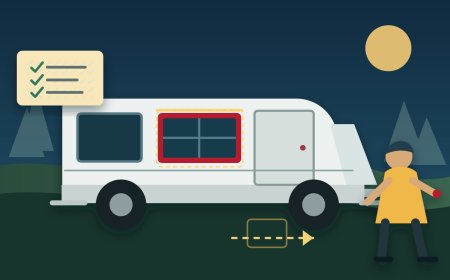
An emergency escape window is not useful just because it has a red handle. Before a trip, every person sleeping in the RV should know which opening is the designated exit, how the release on this particular rig is supposed to work, and where they will go once outside.
That preparation does not require anyone to jump from the RV or pull a window beyond its designed travel. In fact, a generic "open it and climb out" drill can damage a screen, seal, latch, hinge or retention part. The safe approach is narrower: identify the exits, read the exact instructions, inspect what you can see, and perform only the operational check the manufacturer permits.
Start with the exact RV, not a remembered procedure
Collect the RV year, make, model, floorplan and vehicle identification number. Then find the owner's manual supplied with that unit. If the escape-window maker or part number is visible without removing trim, record that too and look for the component manual in the owner's packet.
Model matching matters. The 2026 Winnebago Solis manual says that some described equipment may be optional or unavailable on a particular model. It also tells owners to examine the escape window, inspect its release mechanism before travel and instruct passengers in both means of exit.[1] Forest River's general towable manual makes the same limitation from another angle: its quick-reference manual may not cover every installed item, so owners should read the component literature supplied with the RV.[2]
Do not borrow a latch sequence from a video, another model year or the RV parked next door. If the drawing in the manual does not match the hardware in front of you, stop there. Ask the manufacturer or an authorized dealer to identify the installed window and provide the correct instructions.
For a rental, request the manual before pickup if possible. NFPA's RV fire-safety coverage specifically advises renters to ask for the owner's manual and become familiar with how the vehicle operates.[6] Photograph the relevant pages or save them offline. A cellular connection should not be part of the escape plan.
Identify every designated exit
Stand at each sleeping position and locate the normal door and the designated secondary exit. Check bunks, cab-over beds, rear beds, lofts and convertible dinettes after they are set up for sleeping. A curtain, pillow or folded mattress can hide an EXIT label or block the release.
Use the factory markings and the exact manual to identify an emergency exit. Do not decide that an ordinary window is an escape opening because it looks large enough. Forest River directs everyone aboard to become familiar with every way out, exit windows included, and says damaged or missing instruction labels should be replaced.[2]
Make a simple inventory:
- normal entry door and its locks;
- each factory-designated emergency exit;
- which sleeping position each exit serves;
- the manual page for each release; and
- the outside meeting point.
USFA's RV guidance combines three duties: leave escape openings unobstructed, confirm they operate easily, and rehearse the fire plan as a group.[3] The National Park Service similarly advises having at least two escape routes, practicing with travelers and making sure they can operate the front door, hatches and emergency exits.[5]
Inspect the path before touching the release
First clear the inside approach. Move bags, shoes, pet crates, folding furniture and charging cords away from the route. Put the bed, ladder, privacy curtain and slide room in the same positions they will occupy at night. A window that is reachable in daytime may be buried after the bed is made.
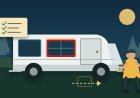
Then inspect from outside in daylight. Look for a tree, power pedestal, picnic table, neighboring slide, awning arm, fence or stored gear in the opening path. Study the ground below for a fire ring, hitch, stabilizer, rocks, curb, steep drop, water, mud or ice. Do not build an improvised landing pad that violates campground rules or creates another hazard. If the designated exit faces an unusable area, reposition the RV if that can be done safely or ask for another site.
Repeat the outside check after leveling, deploying slides and setting up camp. The landing area is a site condition, not a one-time feature of the RV.
Check labels, latches, screens and seals without forcing them
Good lighting and the manual are enough for the first pass. Confirm that the EXIT label is present and readable. Compare the number, color and position of release handles with the manual illustration. Look for loose, bent, cracked, corroded or missing hardware. Check whether a blind, curtain or valance obstructs hand access.
Treat the screen as part of the installed assembly until the manual says otherwise. Some escape-window screens may release, hinge, detach or remain with the window; another design may use a different arrangement. Do not cut, puncture, pry out or discard a screen for practice. Do not unseat a gasket, peel back sealant or insert a tool under the frame.
Inspect the visible seal for gaps, tears, displacement or hardened material, but do not "free" a sticky window with a knife, screwdriver, solvent or unapproved lubricant. A seal also helps keep water out. Damaging it in the name of an escape test can create a leak and still leave the release unreliable.
The latch should look complete and match the instructions. If it is already partly released, will not return to its normal position or moves differently from its mate, stop. Do not bend a red handle back into shape or substitute a household fastener.
Practice only what the manual permits
Separate a briefing from an operational test. Everyone can point to exits, clear the approach, name the meeting place and explain the manual's sequence without opening the window. That is useful practice and carries little risk.
Only manipulate the release or open the window when the exact RV or component instructions authorize that action for inspection or practice. Follow any limits on support, opening angle, screen removal, reset procedure and number of people. Park the RV, keep ignition and appliances off as appropriate, clear the outside area and have a capable adult spot from outside.
Stop immediately if:
- the latch binds or requires unusual force;
- the screen does not move exactly as described;
- the sash shifts in the frame;
- a hinge, cable, prop or retention part looks loose;
- the seal pulls away or tears;
- the window will not stay in the permitted position; or
- you cannot restore and secure it exactly as the manual directs.
Do not climb through or jump from the window as a routine drill unless the manufacturer explicitly authorizes that exercise and you have a safe, supervised plan for the people and site involved. General advice to practice an escape plan does not override the window maker's operating limits. USFA's broader escape-planning guidance supports identifying two ways out, keeping doors and windows unblocked, practicing together and choosing an outside meeting place.[4]
Brief children and guests in plain language
A short tour works better than handing someone a manual at bedtime. Show each guest the normal door, the marked secondary exit and the meeting point. Explain that an alarm or visible fire means getting out, staying out and calling 911 from a safe place. NPS advises getting everyone safely away first and never re-entering a burning RV to retrieve belongings.[5]
Give children one job they can remember: go with the named adult to the meeting point. An adult should handle any practice involving release hardware. Do not encourage a child to open, remove or climb through the window for fun.
Assign assistance before the trip for an infant, older guest, person with limited mobility or anyone who may not hear an alarm. Name a backup helper. If a sleeper cannot reach or use either route, change the sleeping arrangement or choose a more suitable RV. Do not assume an unpracticed lift through a high window will work during smoke and darkness.
Finish with a teach-back. Ask each capable traveler to point to both routes, describe the release in words without touching it, and identify the meeting place. Correct confusion now.
Know when inspection becomes a repair
Stop using the affected sleeping position as planned if the designated exit cannot be identified, reached, released as instructed or secured afterward. The same applies when a label is missing, a screen or latch is broken, the manual does not match, or the exterior route is unusable.
Record the VIN, model and floorplan, photograph the window from inside and outside, and note any maker label or part number visible without disassembly. Send that information to the RV manufacturer, window manufacturer or authorized dealer. Ask whether the whole escape-window assembly, a screen, a latch, a seal or a label is the approved service part.
Do not modify the opening, substitute a residential window, drill new holes or defeat a latch to make practice easier. Forest River warns owners to contact the dealer before unauthorized modifications, and its manual directs owners to the installed component literature for complete instructions.[2] USFA also recommends a thorough inspection by a trained technician at least annually.[3]
After service, obtain the repair record and updated operating instructions. Reinspect the opening, verify that it closes and secures as directed, and repeat the low-risk briefing. If the technician or manufacturer cannot confirm that the exit is ready, postpone the trip or use another RV.
The pre-trip escape-window card
Keep this list with the travel paperwork:
- Record year, make, model, floorplan and VIN.
- Save the matching RV and window instructions offline.
- Identify the door and every factory-designated emergency exit.
- Clear each inside route with beds and curtains in nighttime position.
- Inspect the outside opening path and landing area after setup.
- Compare labels, latches, screen, visible seals and retention parts with the manual.
- Perform only the check the exact instructions permit. Never force, cut, pry or improvise.
- Brief every child and guest; assign helpers and a backup.
- Name one outside meeting point and rehearse getting there without a window jump.
- Escalate mismatched instructions, binding hardware, damaged parts or an unusable exit before departure.
A good inspection may end without the window ever being fully opened. The result you need is simpler: the correct exit is known, the route is clear, the hardware matches its instructions, and every traveler knows what to do.
Safety note: This guide does not replace the manuals for your RV and installed escape-window assembly. Never damage a screen or seal, force a latch, defeat retention hardware, or perform a climb-through drill unless the exact manufacturer instructions authorize it under safe conditions. In a fire, leave, stay outside and contact 911 only after reaching safety.
Sources
- 2026 Winnebago Solis Operator Manual — Model-specific guidance on manual scope, escape-window familiarity, release inspection and passenger instruction; accessed October 6, 2026.
- Forest River Travel Trailer/Fifth Wheel Owner's Manual — Manufacturer guidance on component manuals, exit locations, labels and unauthorized modifications; accessed October 6, 2026.
- Recreational Vehicle Fire Safety — U.S. Fire Administration guidance on clear exits, easy operation, group practice and trained-technician inspection; page reviewed April 1, 2023; accessed October 6, 2026.
- Home Fire Escape Plans — U.S. Fire Administration guidance on two ways out, clear openings, practice and an outside meeting point; page reviewed April 10, 2025; accessed October 6, 2026.
- Fire Prevention 52: RV Fire Safety 101 — National Park Service guidance on RV escape routes, traveler practice and staying out after evacuation; accessed October 6, 2026.
- RV Fire Safety — NFPA Journal guidance for renters to obtain the owner's manual and learn the vehicle; May 1, 2021; accessed October 6, 2026.
What's Your Reaction?