





The RV campground checkout routine: inspect before you leave
A repeatable two-pass RV campground checkout routine for securing the rig, verifying road readiness, cleaning the site, and scanning the empty pad.


The RV campground checkout routine: inspect before you leave
By Romana
Category: RV Camping
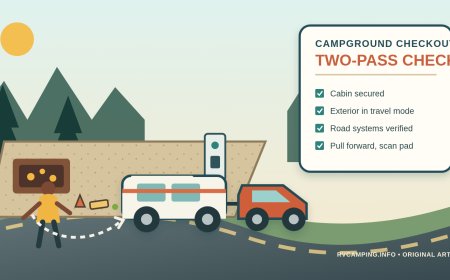
A good campground departure has two finish lines. The first is getting the RV into travel mode. The second is leaving a clean, empty campsite by the campground's deadline. Treating those as separate inspections catches the items that a single hurried walkaround misses.
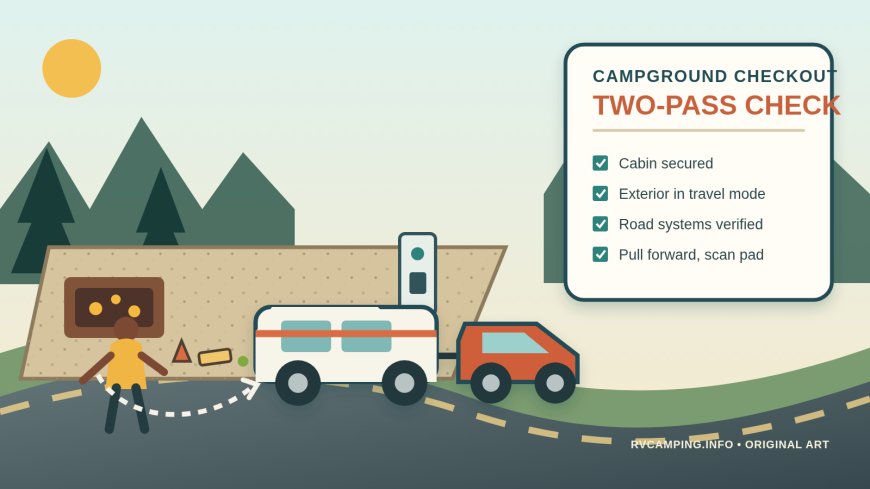
Use the same order every time: confirm the deadline, close the interior, work around the exterior, complete the vehicle check, scan the campsite, pull forward, and scan the empty pad once more. That last look is where leveling blocks, wheel chocks, pet gear, leaks, and small trash stop hiding behind the RV.
Start with the deadline, then work backward
The National Park Service says campers are expected to be packed and out by the site's checkout time and should confirm the campground's own procedure.[1] The exact time belongs at the top of the list, along with any instructions for gate cards, site tags, keys, trash, recycling, or a final office stop.
Choose a target departure time earlier than the deadline. Then reserve the final block of time for the inspection rather than for packing. If checkout is noon and the crew needs 20 minutes for the final two-pass check, the last cabinet should not be closing at 11:58.
A useful division of labor is simple:
- one person owns the checklist and calls each item;
- the person doing the task answers only after touching or seeing the finished condition; and
- the driver performs the last road-readiness pass, even if someone else did the packing.
For a solo departure, clip the checklist to the steering wheel or place the ignition key on it. Do not move the marker until every section is complete. The goal is to make interruption visible, not to depend on memory.
Pass 1: put the cabin in travel mode
Start inside while the RV is still stable and connected as required by its manual. Move front to back once. Avoid bouncing between rooms.
Check:
- people and pets are accounted for and clear of moving equipment;
- loose objects are stored where braking or a turn cannot send them across the cabin;
- cabinets, drawers, the refrigerator, interior doors, and shower doors are latched;
- countertop appliances, cookware, and electronics are secured;
- windows, vents, and roof openings are set for travel as specified by the RV maker;
- water, climate, propane, electrical, and appliance controls are in the travel configuration required by the applicable owner manuals; and
- the floor and slide paths are clear before any room moves.
Do not substitute a generic internet checklist for the RV's manuals.[3] A motorhome, travel trailer, fifth-wheel, truck camper, and folding trailer can require different switch positions and sequences. Write the model-specific steps into your own list once, then reuse them.
Go RVing's pre-trip guidance recommends a final interior walk-through for unsecured items and unlatched doors before moving.[4] Make that walk-through a distinct sign-off. It should happen after everyone says packing is finished.
Pass 2: close the campsite-facing systems
Work around the RV in one direction. Clockwise or counterclockwise does not matter; changing direction halfway through does.
At each side, look high, middle, low, and on the ground.
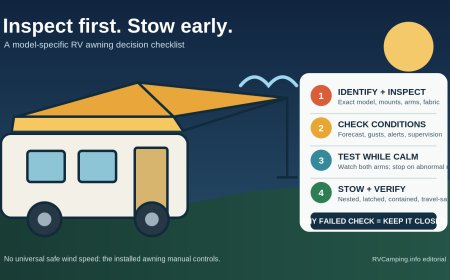
Look high before retracting anything
Check the awning, slide roofs or toppers, antennas, roof-mounted accessories visible from the ground, and nearby branches. Go RVing specifically advises checking the tops of slide-outs for branches before retraction.[5] If a safe ground-level view is not possible, follow the RV and component manufacturers' inspection method. Do not climb onto a wet or unsupported roof just to complete a campsite checklist.
Bring each movable component to its documented travel position. Confirm the result with its indicator, latch, pin, lock, or visual alignment as applicable. A motor sound is not proof that the component finished moving.
Check the middle
Close windows, entry doors, baggage doors, exterior kitchen parts, access panels, and fuel or service doors. Physically press or pull each compartment door rather than judging it from several feet away. Go RVing's pre-trip checklist uses the same hands-on approach for storage doors.[4]
Remove temporary campsite items such as clotheslines, lights, signs, grills, tables, chairs, mats, pet enclosures, and portable antennas. Account for every stake, tie-down, and cord. A small item beneath the rig is easy to miss while the RV still fills the view.
Check low and on the ground
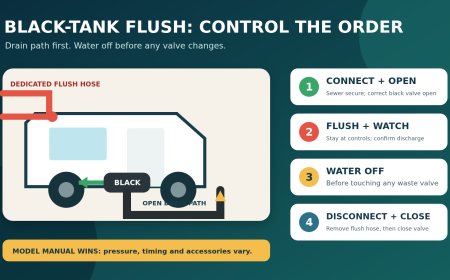
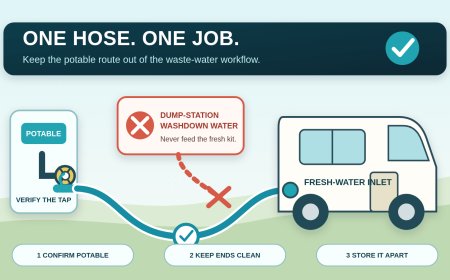
Follow the RV maker's shutdown sequence for electrical, water, sewer, leveling, suspension, jacks, and stabilizers. Cap and stow hoses and cords in their assigned places. Keep drinking-water equipment separated from wastewater equipment according to your established sanitation system.
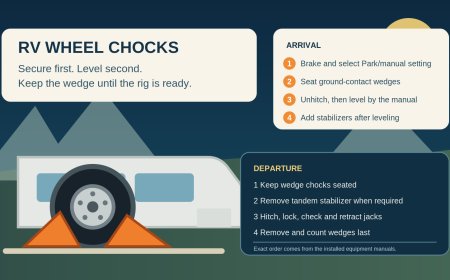
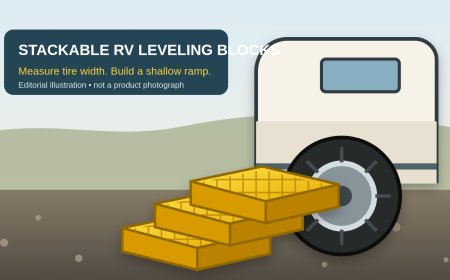
Before raising the final stabilizer or removing the final chock, verify that the RV cannot move unexpectedly and that the tow vehicle or motorhome is in the configuration specified by its manuals. Chock removal is a deliberate checklist item, not a side effect of being ready to go.
Look underneath for tools, pads, blocks, hose fittings, caps, toys, and fresh drips. If you find a leak, identify it before leaving. Do not wash an unexplained fluid into the gravel or drive away simply because checkout time is near.
Pass 3: make the RV road-ready
Camp teardown and a pre-departure vehicle inspection overlap, but they are not the same job. The Oregon Department of Transportation checklist calls for checking tires, wheel fasteners, hitch and coupler equipment, wiring, running and brake lights, turn signals, hazard lights, brakes, awnings, antennas, steps, doors, jacks, stabilizers, load balance, and mirrors before towing.[3]
For a towable, use the tow vehicle and trailer manuals to verify the exact coupling. At minimum, your model-specific list should cover the coupler or fifth-wheel connection, required pins and locks, safety chains or cables where applicable, breakaway connection, electrical connector, jack or landing gear position, and brake-controller test. Do not copy a chain pattern or breakaway-cable attachment from another rig; use the manufacturer instructions and the laws for the states on the route.
For a motorhome, inspect the chassis items in its manual, then inspect any towed vehicle and its attachment system as a separate combination. Check that steering, transmission, ignition, battery, braking, and lighting are configured exactly as the towed-vehicle and towing-system manufacturers require.
For either type of RV:
- inspect tire condition and set cold pressures by the applicable placard, load data, and manuals;
- look for damage, loose or missing hardware, dangling wiring, and anything that can drag;
- verify steps, jacks, stabilizers, antennas, awnings, slides, doors, and windows are in travel position;
- test headlights, marker lights, tail lights, turn signals, hazards, and brake lights with a helper or another reliable method; and
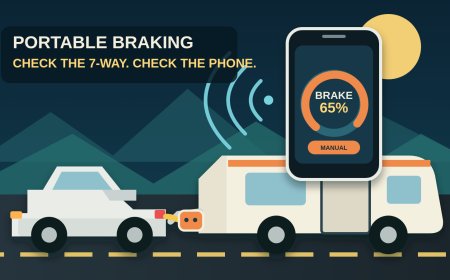
- test the service and trailer or supplemental braking systems according to their manufacturers' procedures before joining campground traffic.
Stop if a safety-critical item does not verify. A warning light that will not clear, a coupling you cannot confirm, a tire defect, or an unexplained leak is a repair decision, not a checkbox to waive.
Pass 4: close out the campsite
The campsite inspection has its own standard: leave no property, waste, active fire, or damage behind.
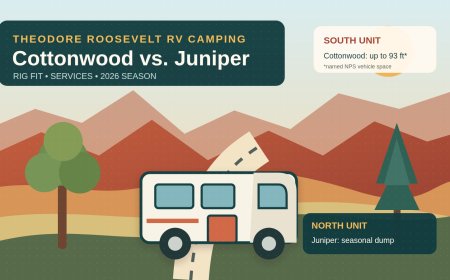
Theodore Roosevelt National Park's current campground rules illustrate why local instructions belong on the checklist. They set a noon checkout, prohibit dumping waste on the ground, require all coals to be extinguished before leaving, and require pet waste cleanup.[2] Another campground may use a different time or process, but the posted rule for the actual site controls.
Walk the full site boundary, not just the parking pad. Check:
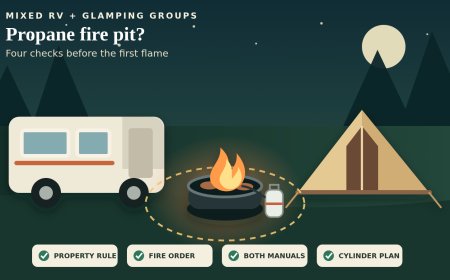
- the fire ring and grill, following current fire rules and confirming permitted coals are fully out;
- picnic-table legs, vegetation edges, and the area where chairs or a mat covered the ground;
- the utility pedestal and hookup area for caps, adapters, surge equipment, hoses, and damage;
- the ground beneath the RV, tow vehicle, and any parked car;
- pet tie-out and relief areas;
- trash, recycling, food scraps, bottle caps, twist ties, and other small debris; and
- moved campground property that must be returned under local rules.
Photograph damage or a utility problem and report it before departure when staff instructions call for that. Do not attempt repairs to campground equipment unless the operator authorizes them.
The pull-forward inspection
Once the RV has passed its road check, move it only far enough to expose the entire pad while remaining in a legal, safe place that does not block traffic. Set the brake. If the campground layout does not provide such a spot, complete the best unobstructed scan possible before entering the road.
One person then walks the newly exposed area. A solo driver parks safely and walks back. Look for the items that were hidden by tires and shadows: the last chock, a leveling pad, a sewer cap, a dropped pin, a cable, a toy, broken glass, fresh fluid, or trash.
This second site scan should not become another packing session. If something is found, recover or report it, stow it, and repeat the affected road-readiness check. Finding a chock, for example, means checking the other chocks again. Opening a compartment means touching that latch again.
A compact checkout card
Print this section or copy it into a phone checklist. Add the rig's model-specific steps rather than relying on it unchanged.
Before teardown
- Checkout time and local departure procedure confirmed
- Route out of the site and campground checked
- People and pets assigned to safe locations
- Checklist owner and driver identified
Cabin
- Loose objects and cargo secured
- Cabinets, drawers, appliances, refrigerator, and doors latched
- Windows, vents, controls, and systems set for travel per manuals
- Slide paths clear; final interior sweep complete
Exterior and hookups
- Slide tops, awning, and overhead area checked before movement
- Slides, awning, antennas, steps, doors, and panels verified in travel position
- Power, water, sewer, and other hookups disconnected and stowed per manuals
- Jacks and stabilizers verified in travel position
- Blocks, pads, mats, stakes, cords, and outdoor gear accounted for
- Underbody area checked for gear and leaks
Road readiness
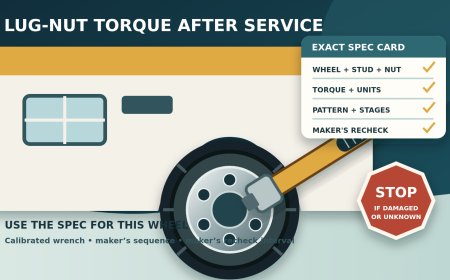
- Tires and visible wheels inspected; pressure handled per placard and manuals
- Coupling or towing system verified from the correct manuals
- Wiring, required safety devices, and brake systems verified
- Exterior lights and signals tested
- Mirrors, cameras, and travel visibility checked
- No warning, defect, or leak remains unresolved
Site closeout
- Fire and coals handled under current local rules
- Waste and wastewater handled only as the campground permits
- Pet area, table area, fire ring, utilities, and site edges scanned
- Trash and personal property removed
- Gate card, tag, key, or office checkout completed if required
- RV pulled forward safely; empty pad scanned
- Any reopened compartment or changed item rechecked
The routine ends when the vehicle and the campsite both pass. That distinction keeps the driver from rolling away in a road-ready RV while a chock, leak, or smoldering coal remains behind.
Editorial note: This is a general campground-departure framework, not a substitute for an RV, chassis, tow vehicle, towing-system, appliance, or component manual. Local campground rules and applicable laws control. No firsthand inspection or equipment test is claimed. Sources were checked September 22, 2026.
Sources
- [1] National Park Service: Checking Out (accessed September 22, 2026).
- [2] National Park Service: Theodore Roosevelt National Park Camping Regulations (accessed September 22, 2026).
- [3] Oregon Department of Transportation: Towing a Trailer in Oregon (accessed September 22, 2026).
- [4] Go RVing: Top 5 Essential RV Pre-Trip Checks (accessed September 22, 2026).
- [5] Go RVing: Packing Up at the Campground (accessed September 22, 2026).
What's Your Reaction?