












How to test and replace an RV propane alarm without guessing
Test an RV propane alarm by its exact manual, decode power and end-of-life signals, control contamination, and choose a compatible RV-listed replacement.

How to test and replace an RV propane alarm without guessing
By Romana | October 5, 2026
An RV propane alarm is easy to overlook because it sits low on a wall and usually shows one quiet green light. It is also easy to test badly. A chirping horn does not necessarily prove the gas sensor works, a dark alarm may be a power problem rather than a dead sensor, and a five-year replacement rule printed in one manual does not automatically apply to every unit.
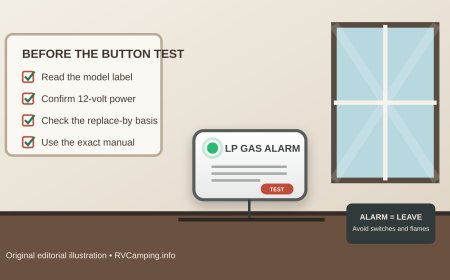
The right check starts with the label on the installed alarm. Find the maker and exact model, retrieve that model's manual, and follow its signal chart. This guide stays with dedicated LP/propane alarms. It does not replace separate smoke- or carbon-monoxide-alarm checks, and it is not a propane-cylinder inspection.
If an alarm is sounding now or you smell propane: treat it as a possible leak, not a maintenance problem. Extinguish flames and smoking materials, shut off the propane supply if you can do so safely, avoid electrical switches, open doors and other ventilation openings, leave the area, and do not use the system again until the leak has been found and corrected.[3]
Start with a label-and-power check
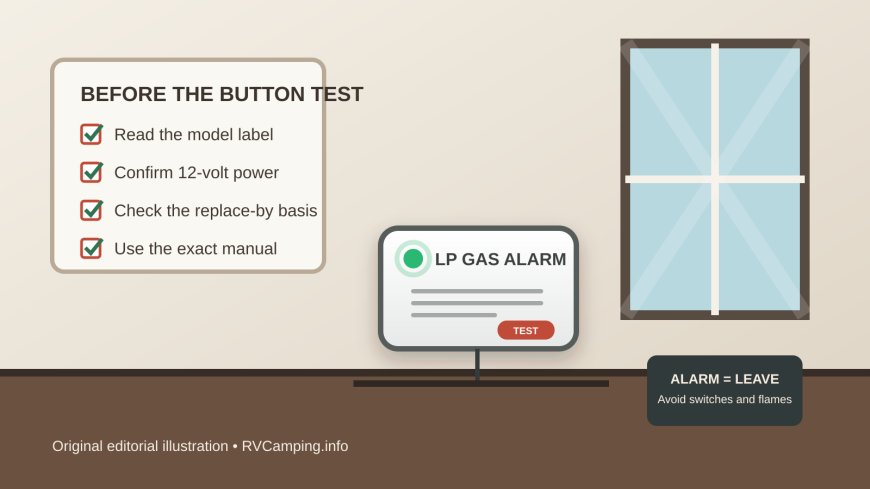
Photograph the front, side, and back label before buying a part or pressing buttons. Record the manufacturer, complete model number, supply voltage, installation or replace-by date, listed application, and the meaning of every light and sound pattern. If the alarm is flush mounted, also measure the faceplate and wall opening.
Most built-in RV LP alarms use the coach's 12-volt system, but "most" is not a wiring instruction. The Safe-T-Alert 30-441-P and 30-442-P manual specifies a 12-volt DC fused circuit and warns that the unit cannot work without power. Its possible loss-of-power causes include cut wires, a poor connection, a missing or blown fuse, and incorrect positive or ground connections.[1] The Winnebago Solis manual makes the RV-side consequence plain: its propane detector stops working when the house-battery disconnect is off or the battery cable is disconnected.[3]
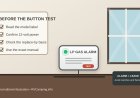
Before the button test, look for the normal indicator described by your manual. If it is dark or showing a fault pattern, do not assume the alarm has expired. Check the house-battery state and the correctly rated detector fuse, but do not bypass a fuse or attach temporary wiring. A qualified RV technician should handle damaged wiring, uncertain polarity, recurrent fuse failures, or any installation that does not match the manual.
Power restoration also takes time. The Safe-T-Alert 30 Series manual says those models cannot detect propane or sound a gas alarm during the first two minutes after power-up.[1] Other models have their own warm-up periods. Wait for the exact unit's normal-ready indication before judging it.
Pressing Test is useful, but know what it proves
Warn everyone nearby before sounding the horn. Keep children and pets clear, and protect your hearing without blocking the alarm. Then run the procedure printed on the alarm or in its manual. Do not substitute a quick tap if the instructions call for holding the button.
For Safe-T-Alert models 30-441-P and 30-442-P, the manual says to press the Test/Mute switch while power is on. The indicator should turn red and the horn should sound. It also says the button tests the alarm circuit, not the propane sensor.[1] That distinction matters: a successful horn test proves only what this manual says it proves.
RV Safe's RVLP-2 and RVLP-3 instructions describe a different self-test. Their Silence/Test button checks the propane sensor and battery voltage as part of the test sequence. The manual calls for a check before a trip, when the alarm is powered again after storage, and every week while the RV remains in use.[2] You cannot safely transfer that self-test description to a Safe-T-Alert, Dometic, Atwood, or unidentified alarm that happens to have a similar button.
Some manufacturer instructions discuss exposing a sensor to a specified test gas. That is not an invitation to crack an RV propane fitting, hold a lighter near the alarm, or discharge fuel from the cylinder system. Never use a flame to test for a leak. If your exact manual calls for a sensor-gas test and you do not have the stated equipment and procedure, ask the alarm manufacturer or an RV service technician to perform or explain it.
Record the test date and result. Replace or service the alarm if it will not complete the prescribed sequence, the horn is weak or absent, a fault remains after the manual's troubleshooting steps, or the normal indicator never returns.
A nuisance alarm still deserves a hazard-first response
Propane alarms can react to substances besides propane, and contamination can damage the sensor. Safe-T-Alert tells owners of its 30 Series to vacuum dust from the cover with a soft-brush attachment, wipe the cover with a damp cloth, and avoid spraying cleaner or wax onto the front panel.[1] RV Safe lists water, heavy dust or grease, chemical sprays, perfume products, silicone adhesives, hair spray, acids, salt spray, and paint among conditions that can harm or interfere with its alarms.[2]
Those lists help with prevention and diagnosis after everyone is safe. They do not justify silencing an active alarm while people remain inside. Even if a cleaning spray was just used, respond as though propane may be present. Ventilate and leave. Only after the area is safe should you compare the light-and-horn pattern with the manual, check for recent aerosols or cleaning work, and inspect for blocked vents or dirt.
Use only the cleaning method approved for the installed model. Do not blow compressed air through the openings, soak the case, paint it to match the wall, cover it during storage, or spray cleaner directly onto it unless the manufacturer explicitly allows that method. An alarm tucked behind bedding, a bag, furniture, or a new cabinet cannot sample room air as designed.
Repeated alarms without an obvious odor or leak are not proof that the detector is "too sensitive." They call for two separate checks: a qualified propane-system inspection and model-specific alarm troubleshooting. NFPA's RV guidance pairs an updated gas-leak detector with inspection of the propane system; the alarm is not a substitute for finding leaks or maintaining appliances.[4]
Read the service-life label, not a generic rule
There is no safe universal replacement interval for every RV propane alarm. The basis can be installation date, a printed replace-by date, manufacture date, purchase date, or another definition in the manual. An end-of-life chirp can also resemble a low-voltage or fault signal.
For a concrete example, the current Safe-T-Alert 30-441-P/30-442-P manual sets the deadline at no later than five years after installation and provides an end-of-life pattern. It describes that pattern as alternating red-red-green-green flashes with a beep every 25 to 30 seconds.[1] The RV Safe RVLP-2/RVLP-3 manual also says to replace those models five years after installation.[2] These are instructions for named model families, not evidence that every LP alarm gets five years.
If the date is missing, illegible, or ambiguous, contact the manufacturer with photographs of the model and date codes. Do not invent an installation date from the RV's model year. An alarm could have been replaced before, installed months after manufacture, or left unpowered during part of the build and sales period. Until the maker confirms the date basis, treat uncertain life-safety equipment as unresolved.
Replace the unit now when its exact replace-by date has passed, it gives the manual's end-of-life signal, it fails the required test, its case or wiring is damaged, its vents are permanently obstructed, or contamination cannot be corrected by the approved cleaning procedure. Do not disable it and continue occupying the RV while waiting for a part. RV Safe specifically says not to disconnect its named models until the replacement is ready to install.[2]
Match more than the hole in the wall
A replacement must be approved for RV use and compatible with the electrical and physical installation. Winnebago recommends the same model or another alarm listed for RV application.[3] Before ordering, compare:
- the exact hazard coverage (LP/propane only versus a listed combination unit);
- RV listing and model-specific mounting location;
- supply voltage, current draw, polarity, fuse requirement, and number of leads;
- surface- or flush-mount design, wall opening, depth, and screw locations;
- temperature and humidity limits;
- connector and wiring instructions;
- warm-up behavior, status signals, mute behavior, and service-life basis;
- compatibility with any shutoff valve, relay, or second power lead.
A faceplate that covers the old opening does not prove electrical compatibility. Never reuse an old connector merely because it fits, and never connect a valve or relay unless the new alarm's instructions explicitly support it. If the replacement changes wiring, fuse protection, mounting height, or system functions, have an RV technician install it.
Disconnect 12-volt power only as the replacement manual directs and only when the new alarm is at hand. After installation, restore power, allow the full warm-up period, verify the normal indicator, and run the prescribed test. Write the installation and replacement dates where the instructions call for them. Save the receipt, a label photo, and the manual with the RV's service records.
A practical pre-trip routine
Before the first trip after storage, and at the interval required by your alarm's manual:
- Confirm the device is an LP/propane alarm, not a smoke or CO alarm.
- Read and photograph the model, voltage, date codes, and signal chart.
- Inspect the cover, vents, mounting, wiring, and normal power indicator.
- Verify that the coach battery and correctly rated detector circuit are on.
- Wait through the model's full power-up period.
- Perform the exact button test and record the result.
- Vacuum or wipe the unit only by its approved cleaning method.
- Replace it if the manual's date, signal, damage, or failed-test criteria require replacement.
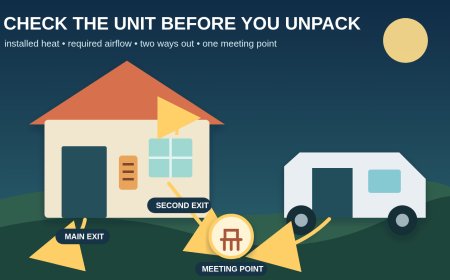
- Make sure everyone knows two exits; NFPA advises RV occupants to know two ways out and keep exit windows operable.[4]
The green light is only the beginning of the check. The model label tells you what the button tests, the signal chart tells you whether a chirp means low power or end of life, and the installation record tells you when that particular alarm is due for replacement.
Sources
What's Your Reaction?